Getting Started with Sequencer and Take Recorder in Unreal Engine 5
Sequencer and Take Recorder are powerful tools within Unreal Engine that allow you to create and capture cinematic sequences and gameplay footage. In this short article, we’ll briefly explore how to get started using Sequencer and Take Recorder.
What is Sequencer?
In a nutshell, Sequencer is a visual editor that allows you to create and edit cinematic sequences in Unreal Engine 5.
With Sequencer, you can animate objects, cameras, and characters, as well as add visual effects, music, and sound effects to your scenes. I like to use Sequencer to produce photoreal rendered commercial photography, concept art for games, and much more.

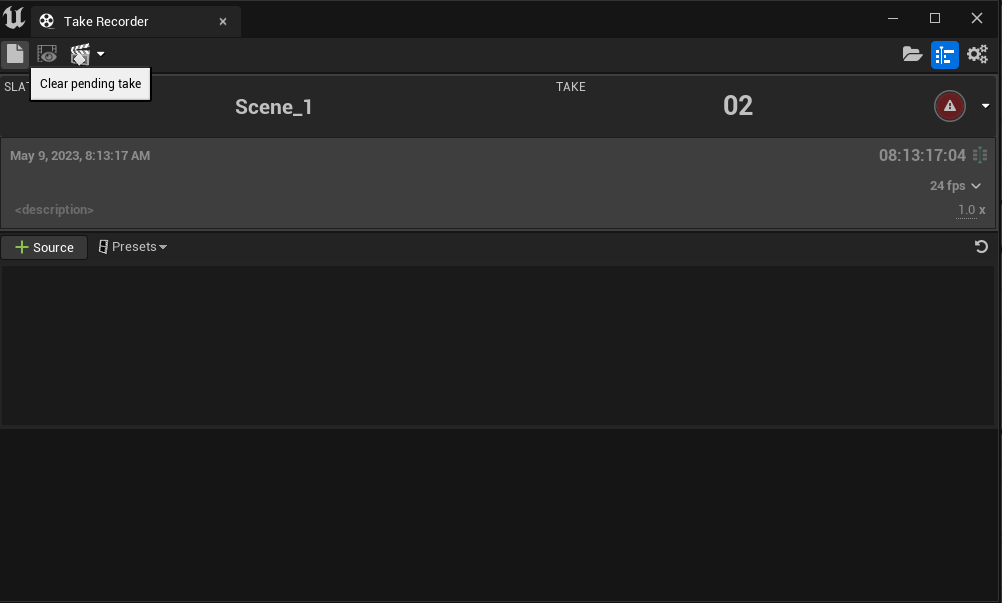
What is Take Recorder?
Take Recorder goes hand in hand with Sequencer. When you open it, it automatically creates a new sequence to record into.
Take Recorder allows you to capture gameplay footage and cinematic sequences directly from the game engine. With Take Recorder, you can record gameplay sessions, capture cinematic shots, and produce multiple takes for an animation that you can swap between in Sequencer.
If you are getting started with performance/motion capture, and recording face animations with Livelink, it is important to understand how to use Take Recorder, as it is how you will produce the animation assets from those sources.
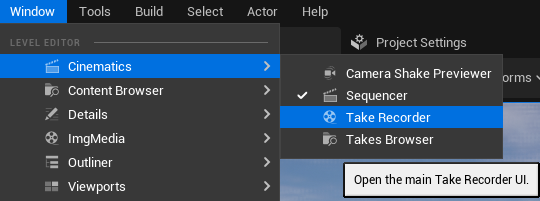
Check out the Interface Overview section in the Unreal Docs for a breakdown of the components of Take Recorder’s UI.
How To Setup a Camera in Sequencer
Let’s see how to get a camera setup in Sequencer. In another article, we will delve into setting up cinematic lighting for a scene, and creating Takes using the Take Recorder.
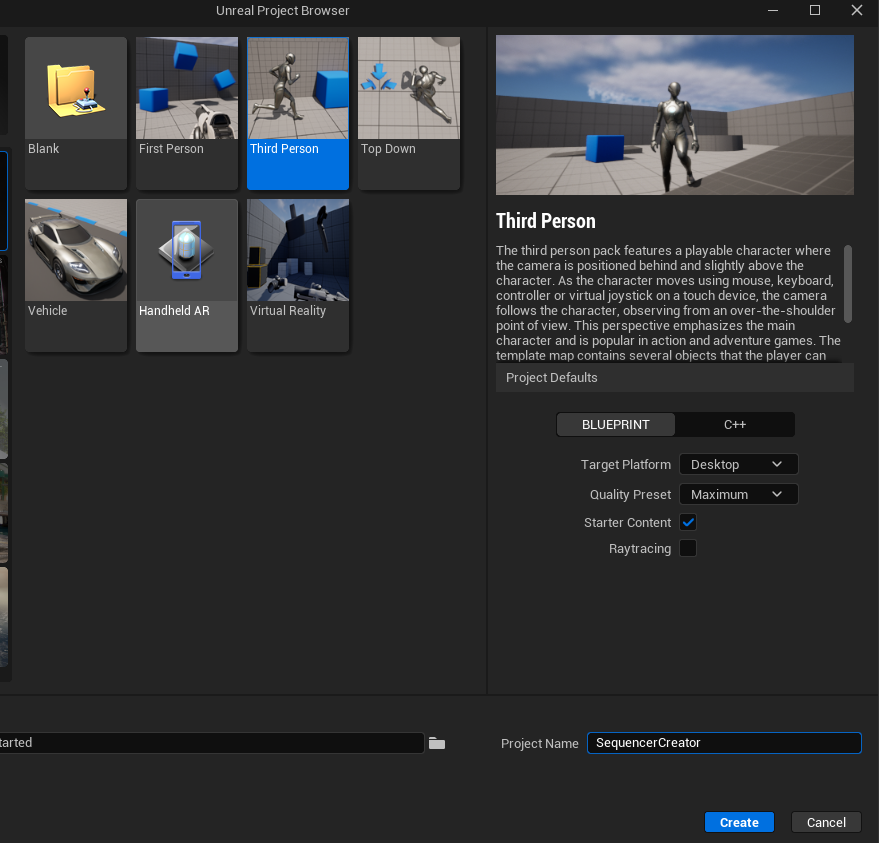
- Start by creating a new project from the third-person template. This will give us a level to demonstrate, and an actor to add to our scene.
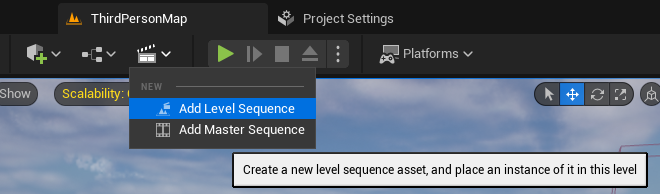
2. Create a new Level Sequence by selecting the New Level Sequence option in the File menu. Select a name and save location.
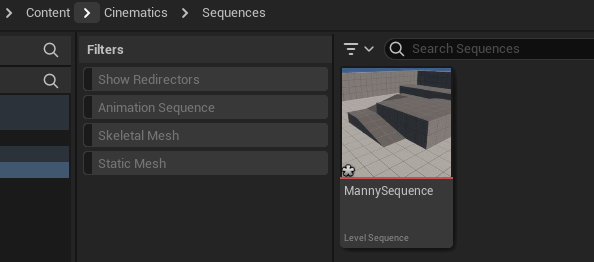
I like to create a Cinematics > Sequences folder to save my sequences into.
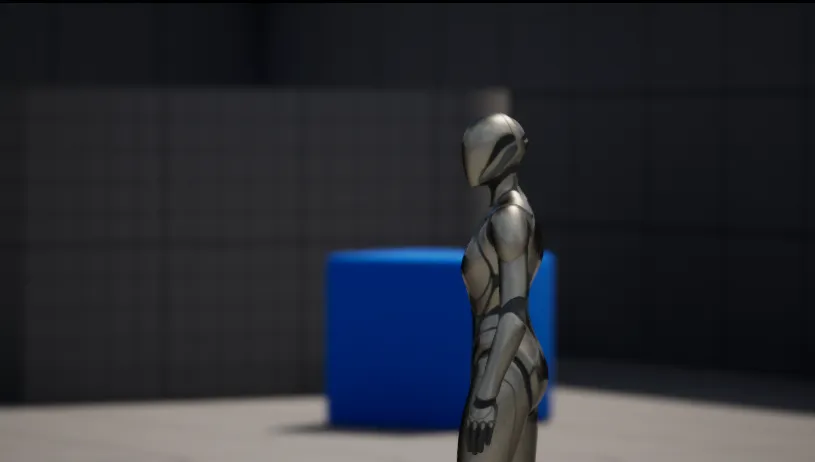
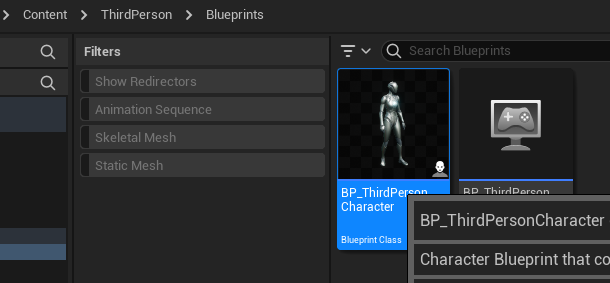
3. Add the BP_ThirdPersonCharacter to your level by navigating to Content > ThirdPerson > Blueprints, and then drag the actor into the editor viewport.
4. Once you have your character in the scene, add it to your Level Sequence by selecting Track > Actor to Sequencer. Then right click on the actor that has been added to sequencer and select Convert to Spawnable from the menu.


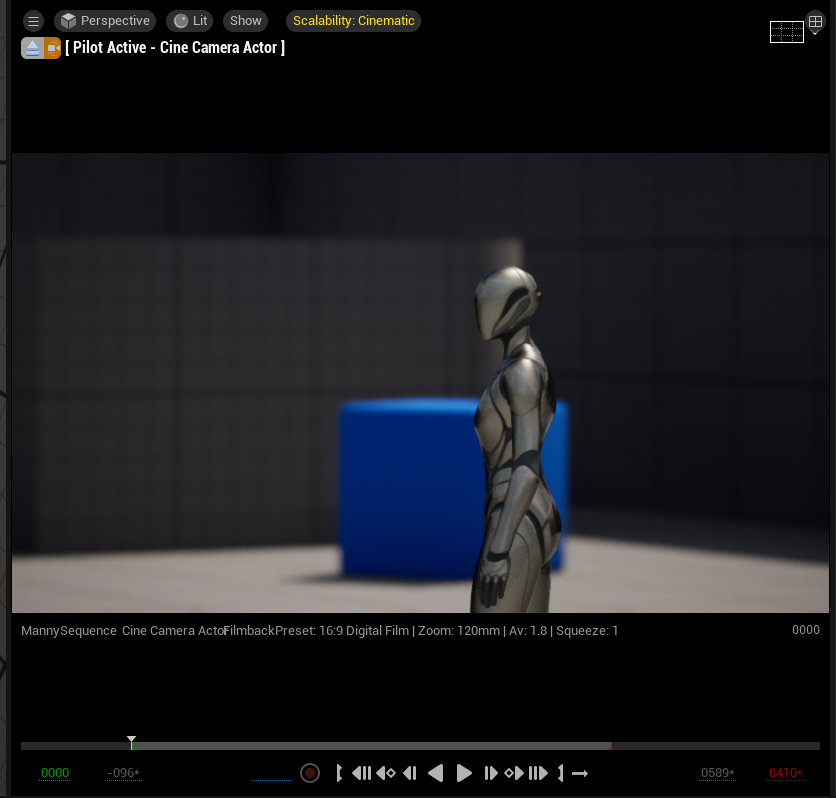
4. Let’s add a Cine Camera Actor to the scene. You can do this by clicking the video camera icon in sequencer. Doing it this way creates a camera actor spawned by this sequence, and automatically adds the camera to the Camera Cuts Track.
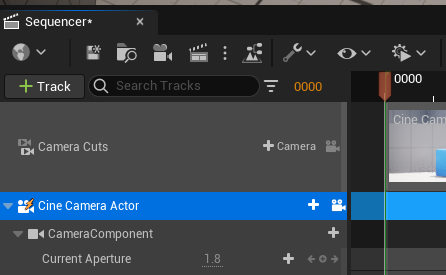
The lightening bolt on the camera icon indicates that this actor is spawned by the level sequencer.
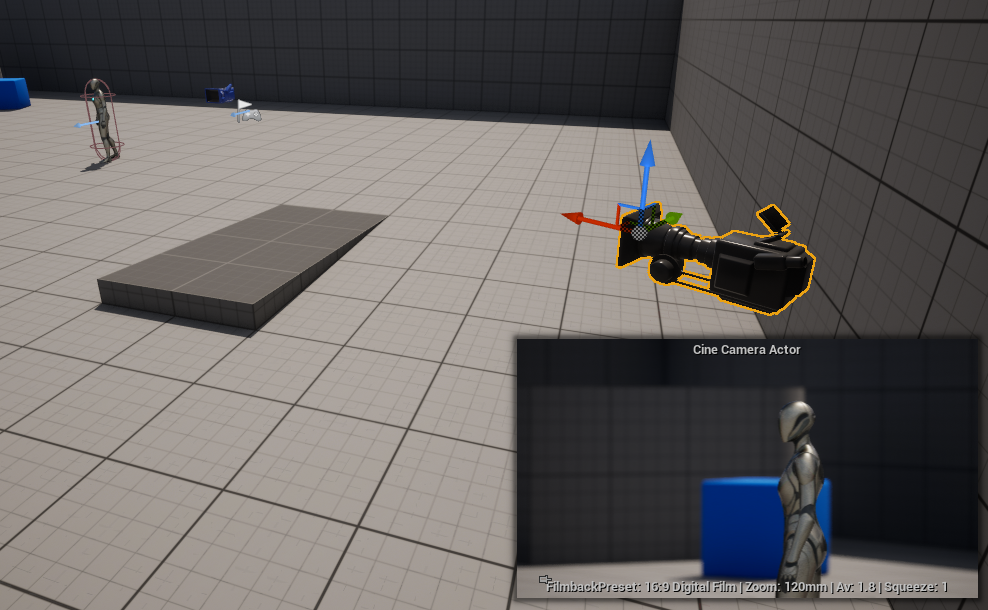
4. Position and animate the camera by adding keyframes to the Transform track. You can also adjust the camera’s field of view, aperture, and focus distance in the Details panel.
Once you have the camera position how you like, with your character in view. Adjust the Current Focal Length and Aperture. I used a setting of 120.0 and 1.8 respectively.

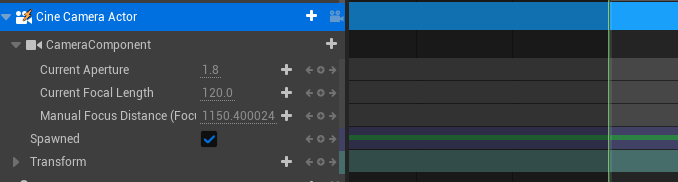
Add keyframes by clicking the diamond button with the plus symbol, or by clicking the plus symbol between the left and right arrows in the sequencer track. The aperture and focal length are tracked in sequencer by default when a cine camera actor is added this way.
And that’s it! You now have sequencer set up with 2 actors being tracked: your third person character, and a Cine Camera Actor. In the next article we will animate our character, create a take using Take Recorder, and use tracking to have our camera pan and follow our actor in the scene.